How to Set Up a New Wi-Fi Router (Step by Step, Any Brand)
A brand-agnostic setup order that avoids the two mistakes that cause most first-day Wi-Fi problems.
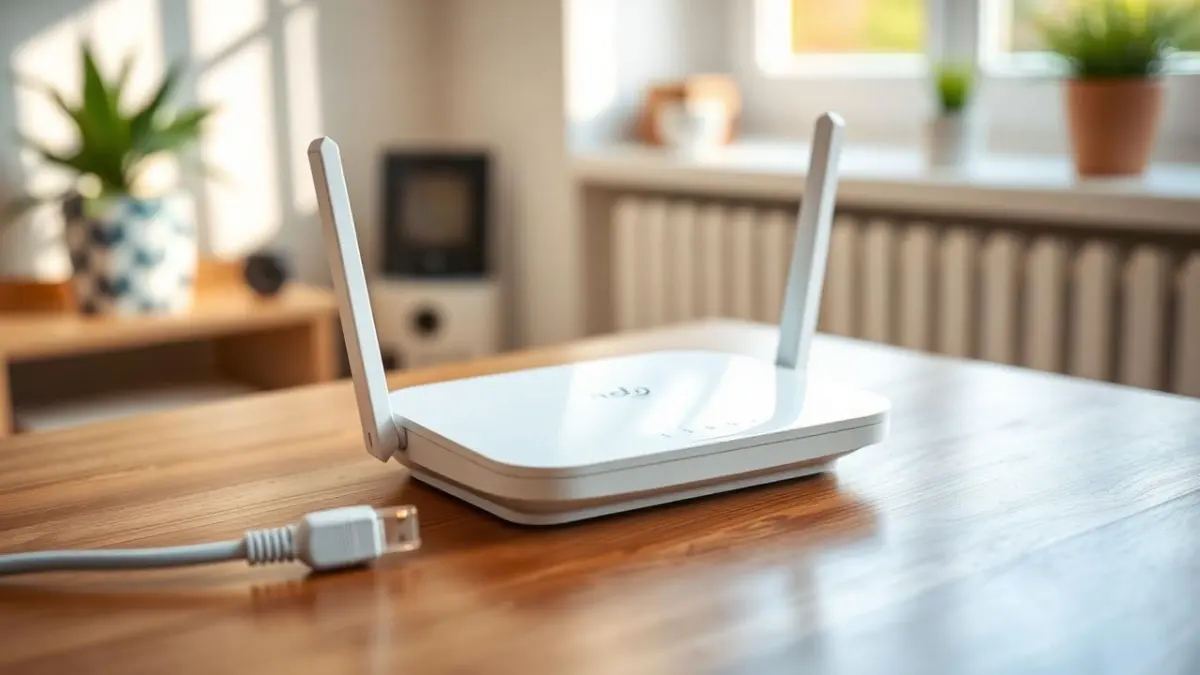
Most router setups fail for one of two reasons: the modem was never fully power-cycled, so it is still handing out an address to the old router, or devices were reconnected before the new network name and password were finalised. Follow the order below and both problems disappear.
What you need
- The new router and its power adapter
- One Ethernet cable (usually supplied in the box)
- Your modem or ONT, if your provider uses a separate one
- A phone with the manufacturer's setup app installed
- Your PPPoE username and password, if applicable
Step-by-step setup
- 1
Unplug the modem from power for 60 seconds
This clears the modem's DHCP lease binding to your old router's hardware address. Skipping this is the single most common cause of a new router showing 'no internet' even though everything is wired correctly.
- 2
Place the router before you cable it
Central, elevated, out in the open. Not in a cupboard, not behind a TV, not on the floor next to the fuse box. Position affects coverage more than any setting you will change later.
- 3
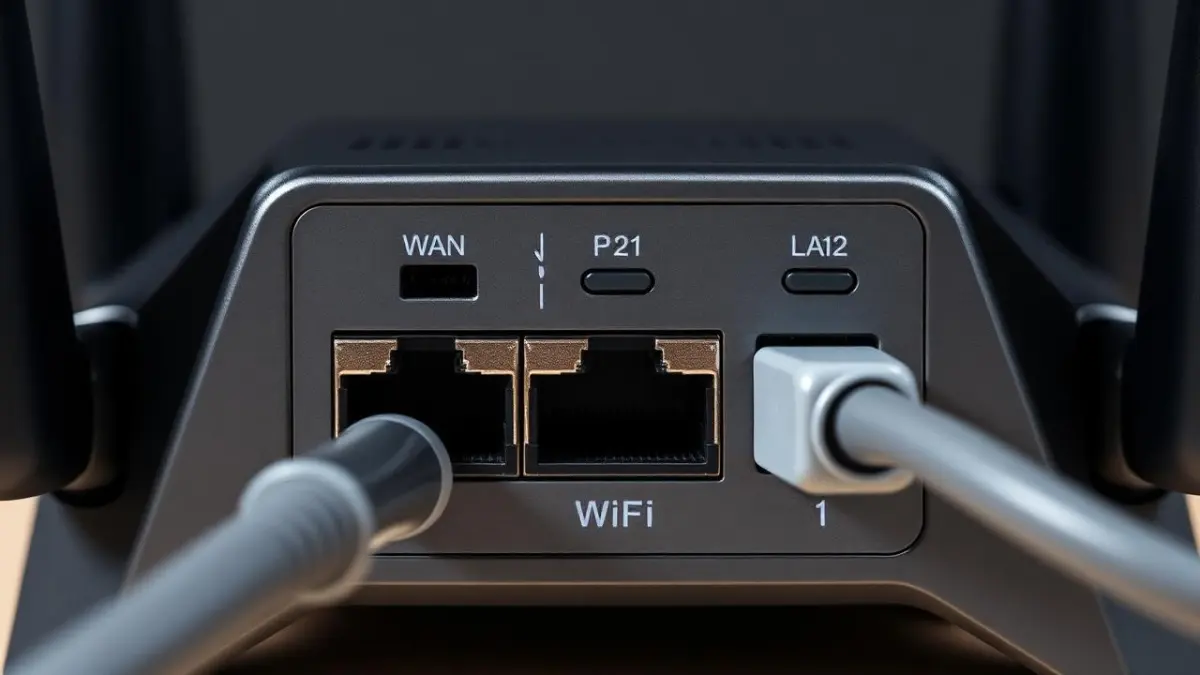
Connect the WAN port to the modem
The WAN (or Internet) port is usually a different colour or sits apart from the numbered LAN ports. Modem's LAN port to the router's WAN port with the Ethernet cable.
- 4
Power the modem on and wait for a solid online light
Give it two to three minutes. The router must not be powered yet. If the modem's online light never goes solid, the problem is upstream of your router and your provider needs to be involved.
- 5
Power the router on and wait for its status light to settle
Another two minutes. Lights vary by brand, but a blinking or amber light generally means 'still working', and solid white, green or blue means ready.
- 6
Join the setup network from your phone
The router broadcasts a temporary network printed on its label. Join it, open the manufacturer's app, and let the app detect the router rather than typing addresses manually.
- 7
Set your connection type
Choose DHCP (also called Dynamic IP or Automatic) unless your provider gave you PPPoE credentials or a static IP. If you were given a username and password for the internet connection itself, that is PPPoE.
- 8
Name the network and set a strong password
Use one network name for both bands and let the router steer devices, unless you own older smart-home gear that needs a dedicated 2.4 GHz network. Use WPA3, or WPA2/WPA3 mixed mode if you have older devices.
- 9
Change the admin password
The admin password protects the router's settings and is completely separate from the Wi-Fi password. Never leave it at the printed default.
- 10
Run the firmware update, then reconnect devices
Update before you reconnect everything. The router will reboot once, and you avoid re-pairing devices twice.
Choosing between one network name and two
Modern routers advertise 2.4 GHz and 5 GHz under a single name and move devices between them automatically. This is the right default for almost everyone. The exception is smart-home hardware — many plugs, bulbs and cameras are 2.4 GHz only and refuse to complete pairing on a combined network. If you own that gear, create a second network named something like 'YourName-IoT' on 2.4 GHz only, and pair those devices to it.
Settings worth changing while you are in there
- Enable automatic firmware updates — security fixes matter more than any speed tweak
- Enable the guest network and give visitors that password instead of your main one
- Turn on WPA3 or WPA2/WPA3 mixed mode; disable WEP and WPA entirely
- Disable WPS, which is a known weak point and rarely needed
- Disable remote management unless you specifically need it
If there is still no internet
- 01Check the WAN light on the router — dark means the cable or the modem, not the router configuration
- 02Swap the Ethernet cable for a known-good one; cheap patch cables fail more often than people expect
- 03Power-cycle in order: modem off, router off, modem on, wait three minutes, router on
- 04Confirm your connection type — a DHCP setting on a PPPoE line produces exactly this symptom
- 05If the modem shows online but the router does not, clone the MAC address of your old router in the router's WAN settings; some providers lock to hardware
Frequently asked questions
- Do I need to return or disconnect my old router?
- Disconnect it. Two routers handing out addresses on the same network causes intermittent failures that are very hard to diagnose. If it was rented from your provider, return it to stop the monthly charge.
- Should I use the router my ISP supplied?
- It is fine to start with, but ISP units are usually built to a price and have weak coverage. If you have dead zones in a home over roughly 110 square metres, your own router or a mesh set is a genuine upgrade.
- How long should setup take?
- Twenty-five to forty minutes including the firmware update and reconnecting your devices. If you are past an hour, something upstream is wrong — usually the modem or the connection type.
DailyHubware may earn a commission from links in this guide. It never affects which products we recommend or what we tell you to try first — the free fixes always come before any purchase.
More in Wi-Fi & Networking
Why Wi-Fi Is Slow in One Room — and How to Fix It
Dead zones are almost always a placement or band problem, not a speed problem. Diagnose it in ten minutes.